Timers
Sirportly has a built in timer system that is based on all past and present statuses of the ticket, how long they've been active for and when they were changed.
You can also create your own Timers based in any set of triggers and conditions you choose, with actions that can be performed such as alerts to your team or even a macro.
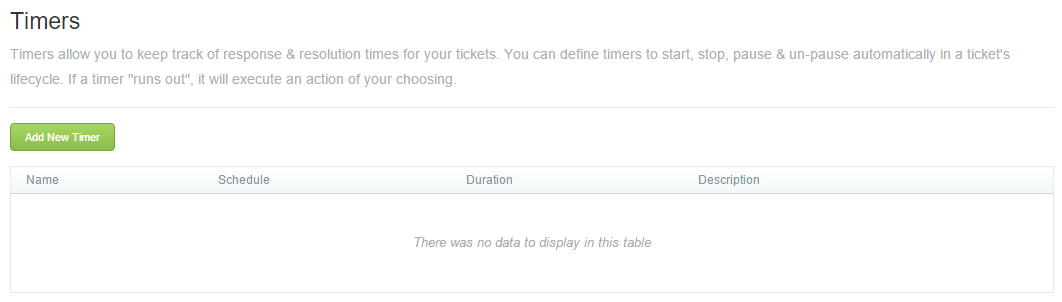
1) To start, navigate via the Admin interface to Workflow -> Timers, then click Add New Timer:
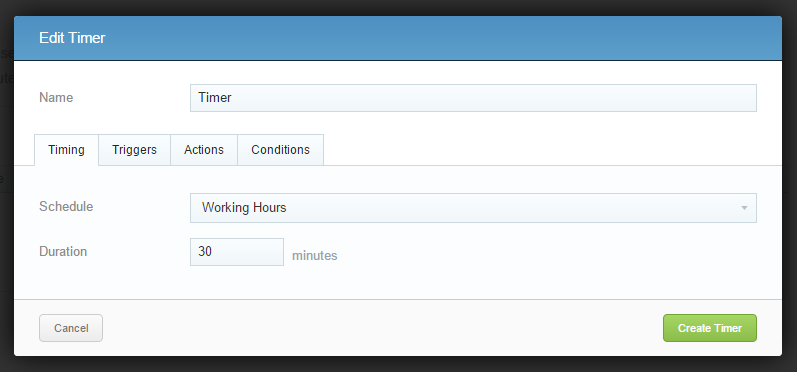
2) Enter a meaningful name for the timer, then within the initial Timing tab, choose the schedule during which the timer will run, as well as its total duration:
3) Next navigate to the Triggers tab, and choose any conditions from your current statuses (default shown below):
| Start timer when... | Stop timer when... |
|---|---|
| Status is set to New | Status is set to New |
| Status is set to Resolved | Status is set to Resolved |
| Status is set to Waiting for Contact | Status is set to Waiting for Contact |
| Status is set to Waiting for Staff | Status is set to Waiting for Staff |
| Pause timer when... | Un-pause timer when... |
|---|---|
| Status is set to New | Status is set to New |
| Status is set to Resolved | Status is set to Resolved |
| Status is set to Waiting for Contact | Status is set to Waiting for Contact |
| Status is set to Waiting for Staff | Status is set to Waiting for Staff |
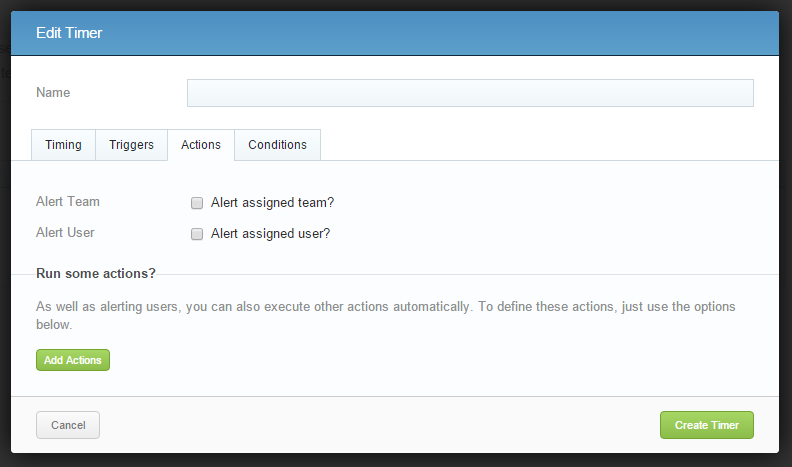
4) Next navigate to the Actions tab, and choose either to alert the assigned Team or User, or Run a set of actions or a macro when the timer has stopped or ended:
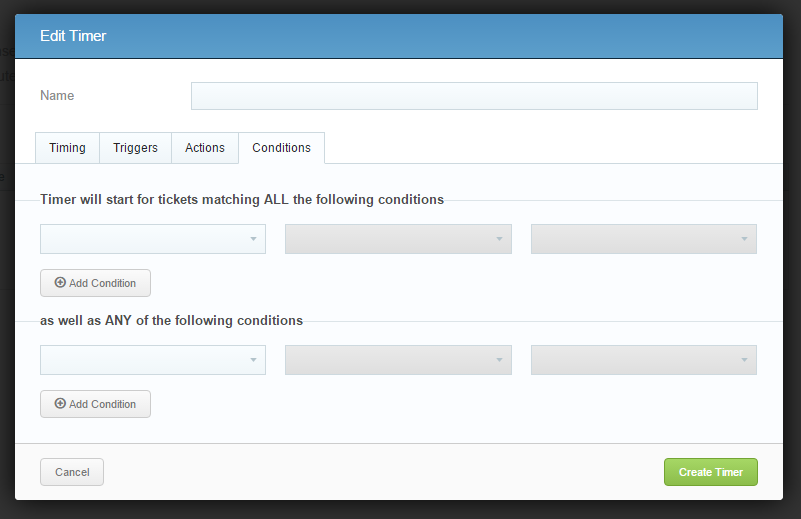
5) Finally navigate to the Conditions tab, and choose any additional (optional) conditions you want to set for when to start the timer, such as a certain incoming address, then click Create Timer to finish.
Now your timer will show in the Timers tab of given once it has met the conditions necessary to start.